Steps to Fix Humming Garbage Disposals

Almost every home today is equipped with a garbage disposal unit. This simple machine provides extremely valuable service and usually operates for many years without a hitch. However, this does not mean that it will eventually break down or cease to operate. The good news is that normally getting it into working order is relatively simple. But, what does it mean if your garbage disposal begins to hum?

Why Is My Home's Garbage Disposal Humming? | KS SERVICES

Humming Sound

The humming (or sometimes buzzing) sound that your garbage disposal makes is an indication that there is power coming into the unit but the blades are not turning. The humming sound can be a sign that the motor is clogged or jammed resulting in its failure to grind. Sometimes you may find that the garbage disposal will stop on its own even if you did not turn the unit off. What is the best way to deal with this?

It is not uncommon that bits and pieces of food are the culprits. These could be stuck between the impeller blade and the drain hole causing the unit to jam. To solve this problem, follow these steps:
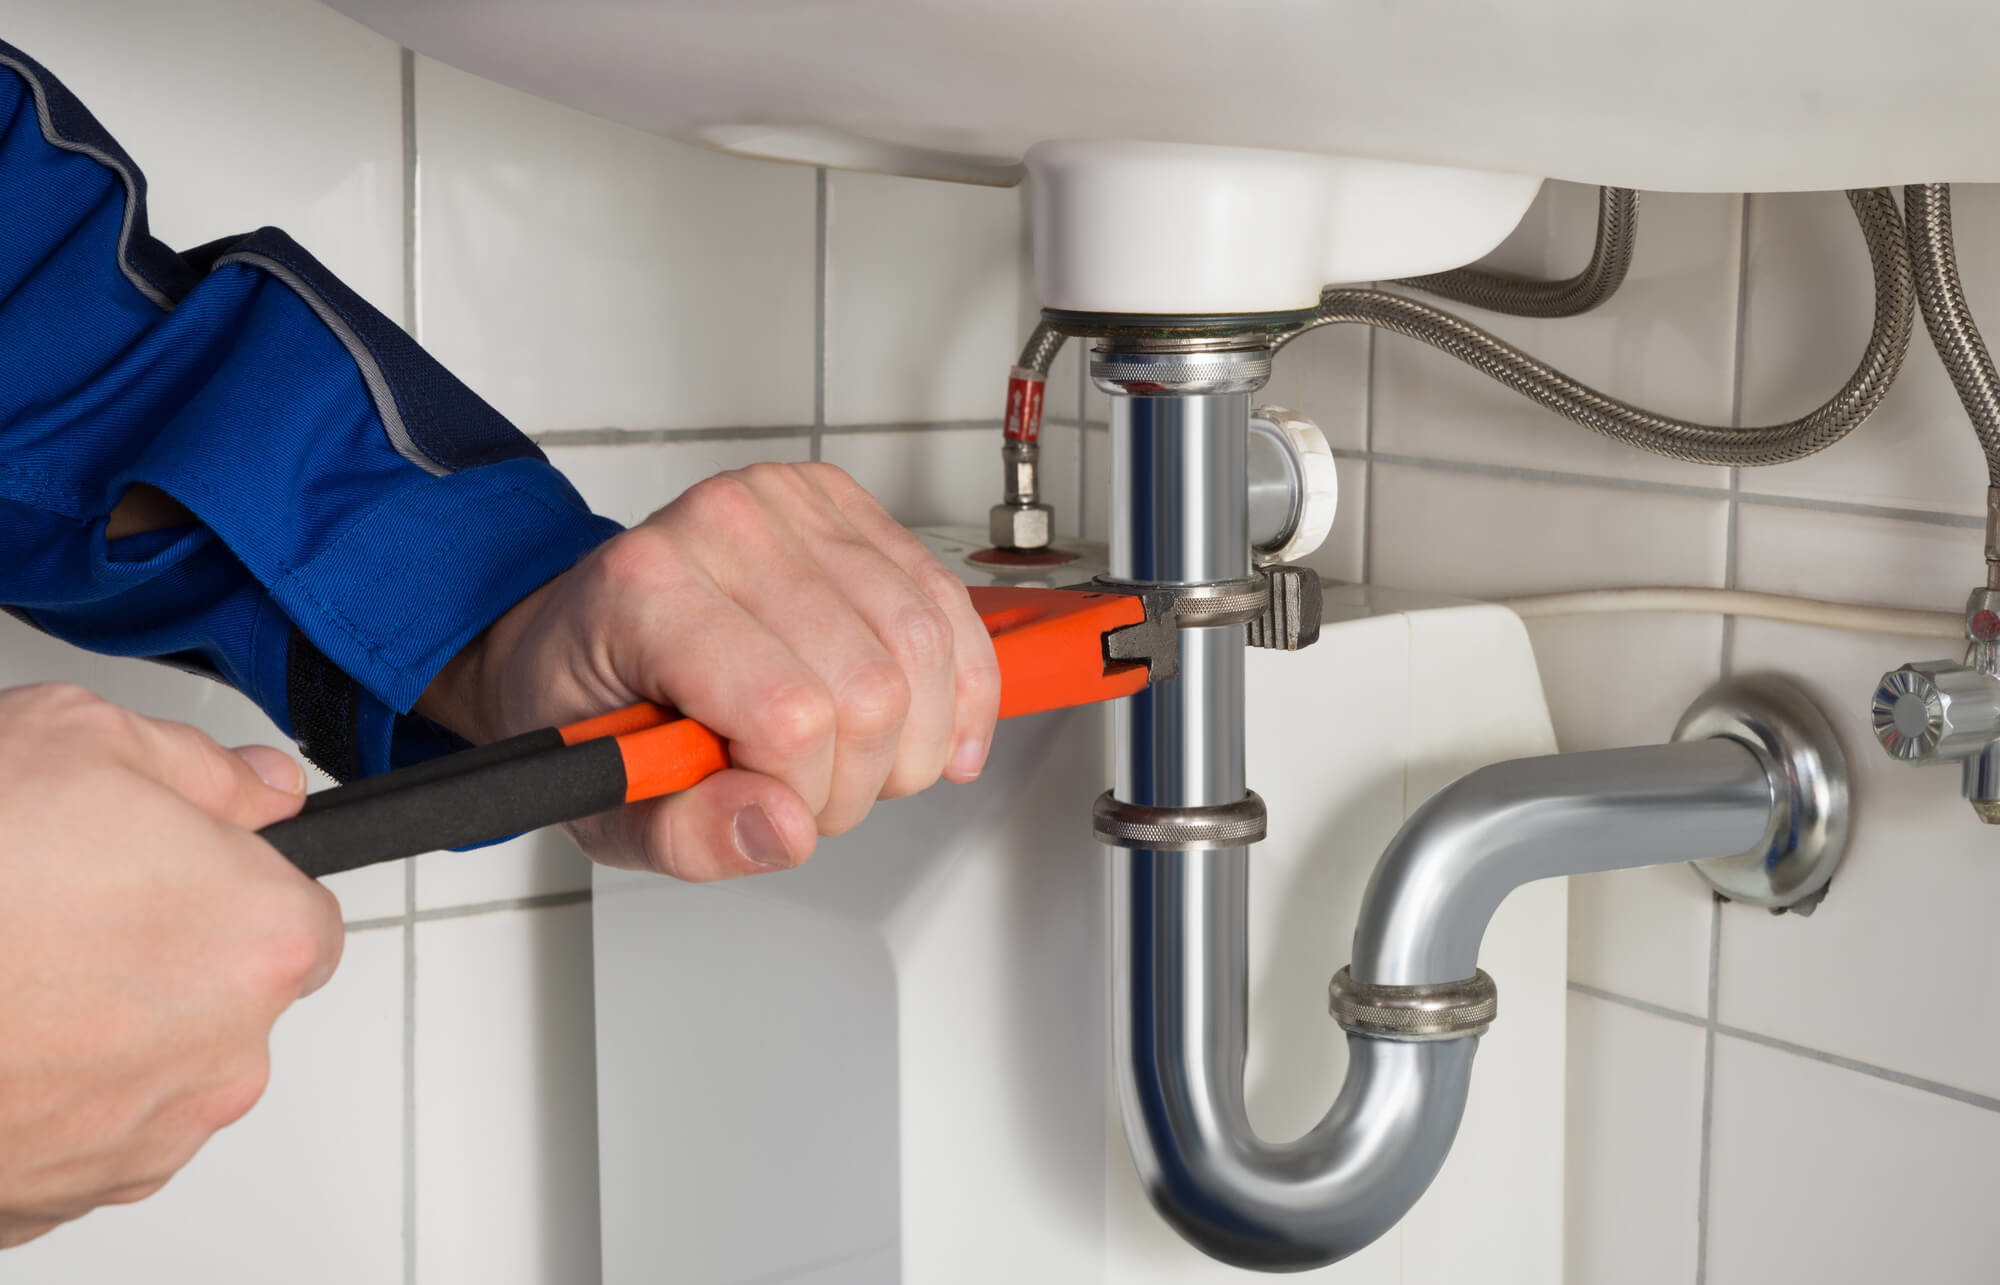
Troubleshooting Garbage Disposal Problems

  1. Cut the power to the garbage disposer by unplugging the unit and cutting the electrical circuit to prevent the motor from burning out and ensure that you do not get electrocuted;
  2. Go under the sink and stick the hex head Allen wrench in the breaker socket found at the bottom section of the garbage disposer;
  3. Start turning the wrench tool back and forth to get the flywheel to turn and set free the jammed particle in the impeller blades;
  4. If the garbage disposer does not have a hex hole or if you do not have an Allen wrench, get a short broom and stick it into the garbage disposer. Make sure that you force it down against one of the impeller blades and start rotating it manually back and forth;
  5. Feed power back to the garbage disposal unit and check if the normal function has been restored. Take note if you can still hear a humming or buzzing sound coming from the unit;
  6. If this process does not work, there may be other reasons why you are experiencing problems with your garbage disposal unit. Go ahead and call.

Other Causes of Humming

Aside from what has already been mentioned, there are instances wherein a humming sound is emitted by your garbage disposal unit. Understanding them will give you an informed decision on what to do next. So, what are these other causes that you should be aware of?

An image of a woman with a blocked garbage disposal.
  1. Stuck Foreign Object – this means objects that are not supposed to be in the garbage disposer in the first place. How did it get there? Possibly, a child threw it down the sink and the object found its way into the unit without being noticed. When this causes the impeller blades to jam, a humming sound is produced. Cut all power to the unit and inspect the disposer for anything that is jammed in the unit. Use a tong to remove any stuck foreign object to restore disposer functionality.
  2. Tripped GFI or Disposer – it is not impossible that the GFI, GFCI electrical outlet or the garbage disposer itself has tripped. This lack of electrical current to turn the motor may cause a humming sound to be produced. In this instance, the best solution is to simply press the reset button and test if normal disposer operation is restored. The reset button can be found at the bottom of the unit.

Now that you are aware of why your garbage disposal unit can be producing a humming sound, you will be able to decide on the best way to remedy the problem. In case you continue to experience problems with the operation of your garbage disposal, call our plumbing immediately! If you need your garbage disposal or any kitchen plumbing repair, feel free to give your plumber at Scott English a call.

WARNING SIGNS OF WATER LEAKAGE BEHIND THE WALL

peeling paint water damage

When a frozen pipe bursts or a drain backs up, you know something’s wrong right away. You quickly identify the source, pinpoint the problem and take care of repairs.

When a slow leak starts inside your home’s walls, it doesn’t attract attention, but it does leave solid clues. If you know how to detect water leakage in walls, you can minimize potentially serious damage.

Be on the lookout for these 10 signs of water leaks behind your drywall.

1. PERSISTENT MUSTY ODORS

As the water slowly drips from a leaky pipe inside the wall, flooring and sheetrock stay damp and develop an odor similar to wet cardboard. It generates a musty smell that can help you find hidden leaks.

2. MOLD IN UNUSUAL AREAS

Mold usually grows in wet areas like kitchens, baths and laundry rooms. If you spot the stuff on walls or baseboards in other rooms of the house, it’s a good indicator of undetected water leaks.

3. STAINS THAT GROW

When mold thrives around a leaky pipe, it sometimes takes hold on the inside surface of the affected wall. A growing stain on otherwise clean sheetrock is often your sign of a hidden plumbing problem.

4. PEELING OR BUBBLING WALLPAPER / PAINT

This clue is easy to miss in rooms that don’t get much use. When you see wallpaper separating along seams or paint bubbling or flaking off the wall, blame sheetrock that stays wet because of an undetected leak.

5. SLOWLY WARPING SHEETROCK

Over time, sheetrock wicks up moisture from a slow leak, and that can cause the wall to develop bends and curves. Warped sheetrock is a sure sign of a slow water leak.

6. BUCKLED CEILINGS AND STAINED FLOORS

If ceilings or floors in bathrooms, kitchens or laundry areas develop structural problems, don’t rule out constant damp inside the walls. Wet sheetrock can affect adjacent framing, flooring and ceilings.

7. WET BLOTCHES

Wet spots are sure signs of water damage in walls, but they don’t always pinpoint the problem’s location. Water can travel down a pipe and cause wet blotches on the wall below the leak.

8. ODD DISCOLORATION

As a leak moves further down inside the wall, overlooked wet spots eventually dry. They leave behind splotches that appear lighter than surrounding drywall or wall paper.

9. WET FLOORS

This sign is obvious on kitchen floors, but it’s not as noticeable in carpeted rooms. If an area of carpeting appears darker next to a wall, touch the fibers. If they’re damp, you probably have a wall leak.

10. DRIPPING SOUNDS

Water running down inside walls often makes a dripping sound. You’ll usually hear the plinking noise after turning off a faucet in the sink, tub or shower. You may also notice audible clues after flushing the toilet.

TESTING YOUR SUSPICIONS

water meter
A water meter test can help you determine if there’s a leak in your house.

Figuring out how to detect water leakage in walls takes a little investigative work. If the clues add up and you want more evidence of a hidden leak, use your home’s water meter to test your suspicions by following these simple steps.

  • Make sure all faucets and appliances in the house are turned off.
  • Take a look at your home’s water meter, and note the usage numbers.
  • Don’t run any water inside or out for at least three hours.
  • Check the usage numbers on the meter again for any changes.
  • An increase in the readout means you have a leak somewhere in the house.

TOOLS THAT HELP DETECT WATER LEAKS IN WALLS

water damage moisture reader

Cutting into drywall to locate a leak doesn’t always give you access to the problem. Water could be dripping from a pipe several feet above the wet spot. Reduce the guesswork with these leak-detection tools.

  • Moisture Meter – This device analyzes moisture content in all types of materials. Locate a leak by placing the meter directly against the wall. Move it around, checking four or five different points. The spot that gives you the highest reading is nearest to the hidden leak.
  • Infrared Camera – An infrared camera detects moisture inside walls through an optical system that measures infrared energy and surface temperature. As you move the camera around a suspected area, a cooler temperature reading helps pinpoint the location of the leak inside the wall.

You can buy or rent both tools at most home improvement centers. Moisture meters and infrared cameras are just two examples of the advanced equipment used by restoration professionals to detect hidden wall leaks.

HOW TO STOP WATER LEAKAGE FROM THE WALL

Knowing what to do if your wall is leaking water saves cleanup time and reduces the chance of serious water damage.

Once you’ve located the approximate area of the leak, cut out enough drywall to reach the bad pipe. Stop the leak with a patch kit, mop up as much water as possible, and set up fans to dry the area.

Let a water damage pro take care of permanent repairs and drywall restoration. When you call in a company that specializes in this kind of work, you:

  • Leave the entire job in the hands of certified technicians.
  • Count on advanced repair, cleaning and restoration techniques
  • Know mold removal and remediation are taken care of
  • Don’t navigate insurance paperwork by yourself.

While it’s always best to let a restoration professional handle repairs and remediation, here are important steps you should also take to minimize damage.

  • Fixing a wall leaking from rain water might start with cleaning out the gutters. When they’re clogged, heavy rain spills down your home’s exterior and can seep into the walls inside.
  • Water leaks in walls when it rains can indicate problems on the roof. Make regular roof inspections part of your water leak prevention plans. Immediately replace bad shingles or flashing.
  • Stop plumbing leaks inside walls by turning off the main water supply to your home. Open up faucets inside the house to drain as much water as possible from pipes before you begin repairs.

How to Prevent Tree Roots in Sewer Pipes

Trees are a wonderful addition to any home’s landscape – they are beautiful to look at, they can offer shade and reprieve from the elements, and they can even do things like filter your water, and reduce erosion and greenhouse gases! While all of these are the perks that make trees a valuable asset to your lawn, there is a downside – when the tree roots start to take over your sewer pipes. This can be a major problem, not only because it can impact your plumbing, but because plumbing leaks and issues can lead to foundational problems, and a whole other slew of costs to do those repairs. In order to avoid breaking the bank, you need to know how to stop these roots, which is why Allied has put together this guide on how to prevent tree roots in sewer pipes.

Know Where Your Plumbing Is

The Different Types of Plumbing Services You Should Know | PRO CREW SCHEDULE

This may seem basic, but it isn’t! Often, homeowners do not know where their pipes are, and therefore do not know when trees are starting to impact them. A quick call to your local public works department or the 811 “Call Before You Dig” number is a good way to locate all of the underground cables, lines, and pipes. This is good to know whether or not you have the ability to dig in your yard without problems, or if you need to have an expert come in. This can especially apply when you are wondering whether or not you need to remove a tree, or if it is perfectly fine where it stands.

Create A Barrier

Creating a barrier between the sewer lines in your lawn and the tree roots that are making their way freely is the best defense against future plumbing problems. This also has the added capability of allowing you to keep any of the trees that are on your lawn. That way, you are getting all of the benefits of being protected from the elements and having a wonderful level of shade while also being able to protect your sewer from unwanted expenses. One type of barrier is to use slow-release chemicals and spread these near the sewer lines, where they can prevent the roots from breaking in. Another option is to place metal or wood barriers anywhere from 6 to 12″ further into the ground than the pipes, running vertically, to prevent the roots from growing into the pipes.

Plant Sewer-Safe Trees

There is, also, such a thing as sewer-safe trees! Sewer-safe trees are those that grow at a slower rate, while also having a smaller root ball, or spread. If the roots spread out less, you’re safer to place them closer to the sewer line. If you cannot live without the bigger trees and you need to have them on your lawn – you can! Just be sure to know where your sewer lines are and plant the trees as far away from those lines as possible.

Know The Signs

A good preventative for further sewer line damage is to know the signs. If you know what to look out for, you know when to spring into action, instead of having to wait until it’s too late. Drain clogs are something incredibly common, and can often be fixed with little to no issue. If your drain is clogging all of the time, however, there may be something bigger going on that you need to address. Root damage can lead to sewer lines being clogged, which can also lead to overflowing or slow-flowing drains. One tell-tale sign is to listen to gurgles from your toilet!

Get Regular Inspections and Maintenance

How Plumbing Works in an Apartment Building - Eyman Plumbing Heating & Air

If you notice any of those signs – call someone! Frequent drain clogs, difficulty clearing clogs, and gurgling noises are all indications that you should have a plumber look into your sewer lines. They will do this by inspecting the lines with a camera, running it through to locate areas with a lot of damage. Afterward, they’ll be able to make recommendations up to and including pipe replacement. Regular maintenance and clearing lines frequently can allow you to prevent needing repairs!

These five tips are just the tip of the iceberg to protecting your plumbing, but each step is invaluable! Just knowing where your sewer lines are can help you protect your plumbing and keep your landscape looking great at the same time. Not only will this benefit you in terms of plumbing, but it terms of keeping your foundation safe, sturdy, and operating at 100%! If you think that you might be having issues with your plumbing, reach out to Allied Foundation today! With our root-barrier installations, we’ll give you peace of mind when it comes to keeping the trees you love away from the pipes you need.